Getting started
Install Getdeck Desktop
Install the latest version if needed.
Creating an account
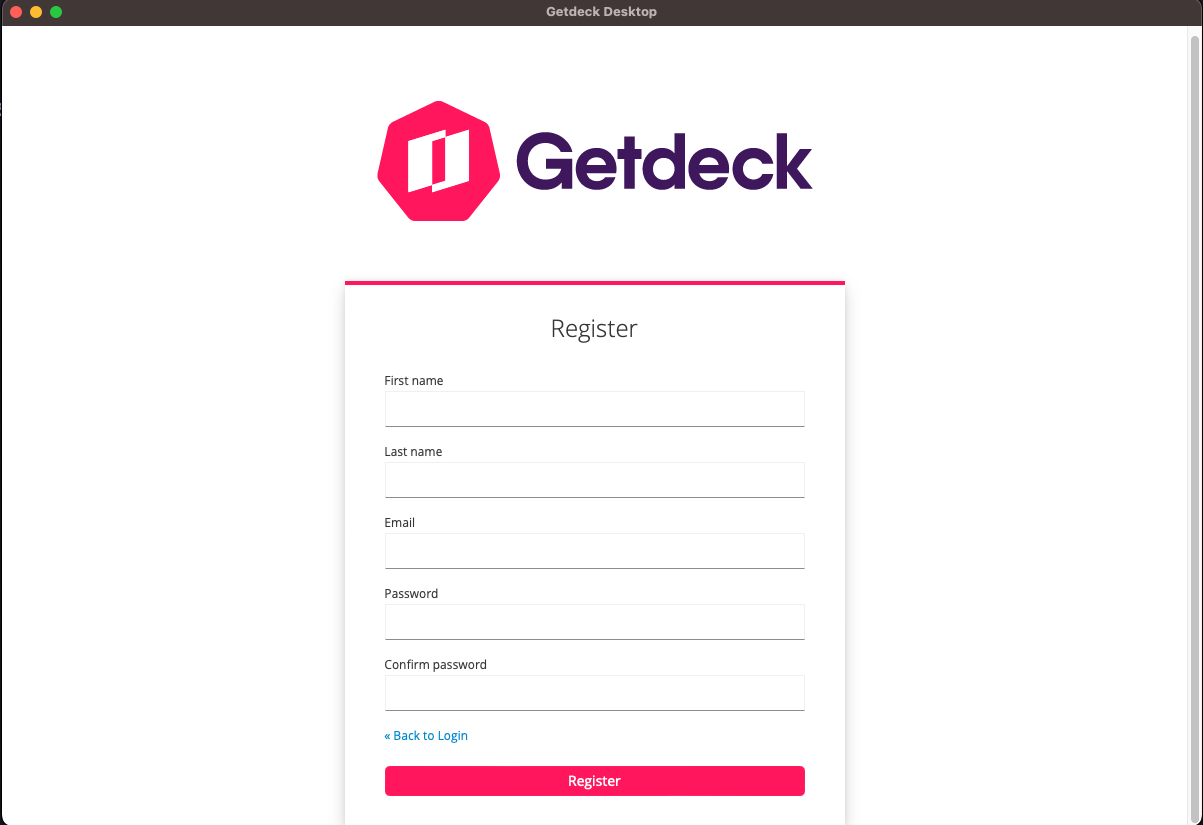
In order to use Getdeck as a Service, you need to sign up for a free account. You gan either use an email adress and a password, or you can sign in with Github.

Creating a Cluster
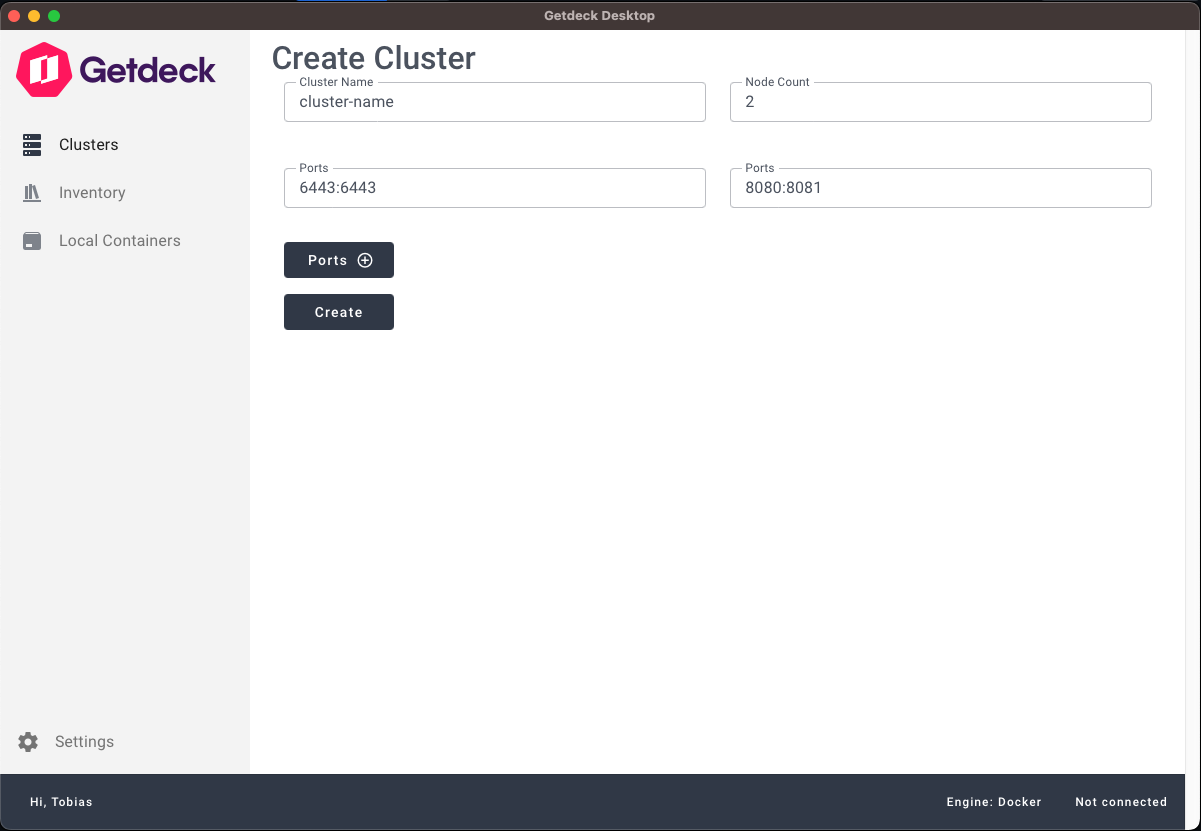
Spinning up an ephemeraal, virtual Kubernetes Cluster with Getdeck is easy! Click the "Create" button, set a name for your cluster, choose how many nodes you want
your cluster to have (the free tier allows values from 1 to 3) and map some ports from your cluster to your machine that will be used when connecting later.
Once you hit create, your cluster will be started!

Connecting to a remote Cluster
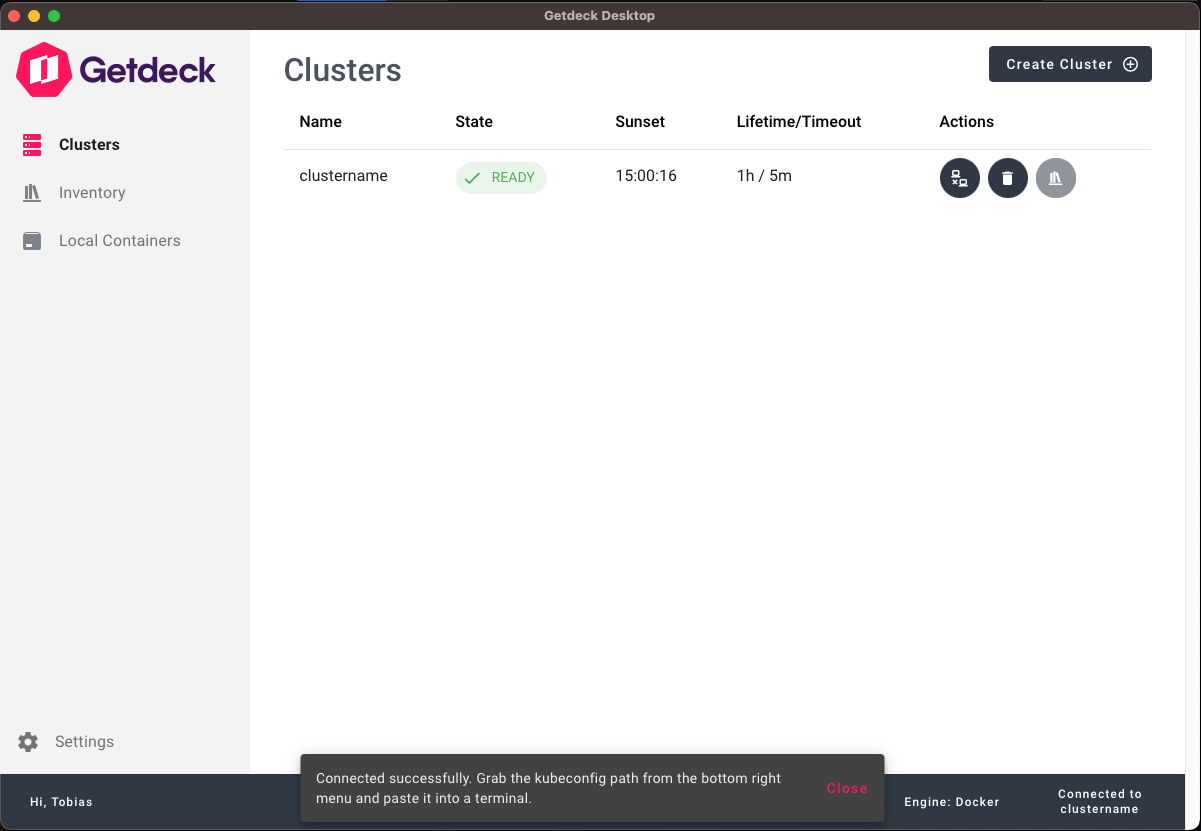
Once your cluster enters the "ready" state, you can hit the "connect" button in the action column. An mTLS connection will be established from the virtual remote cluster
to your dev machine.

Interacting with a remote Cluster
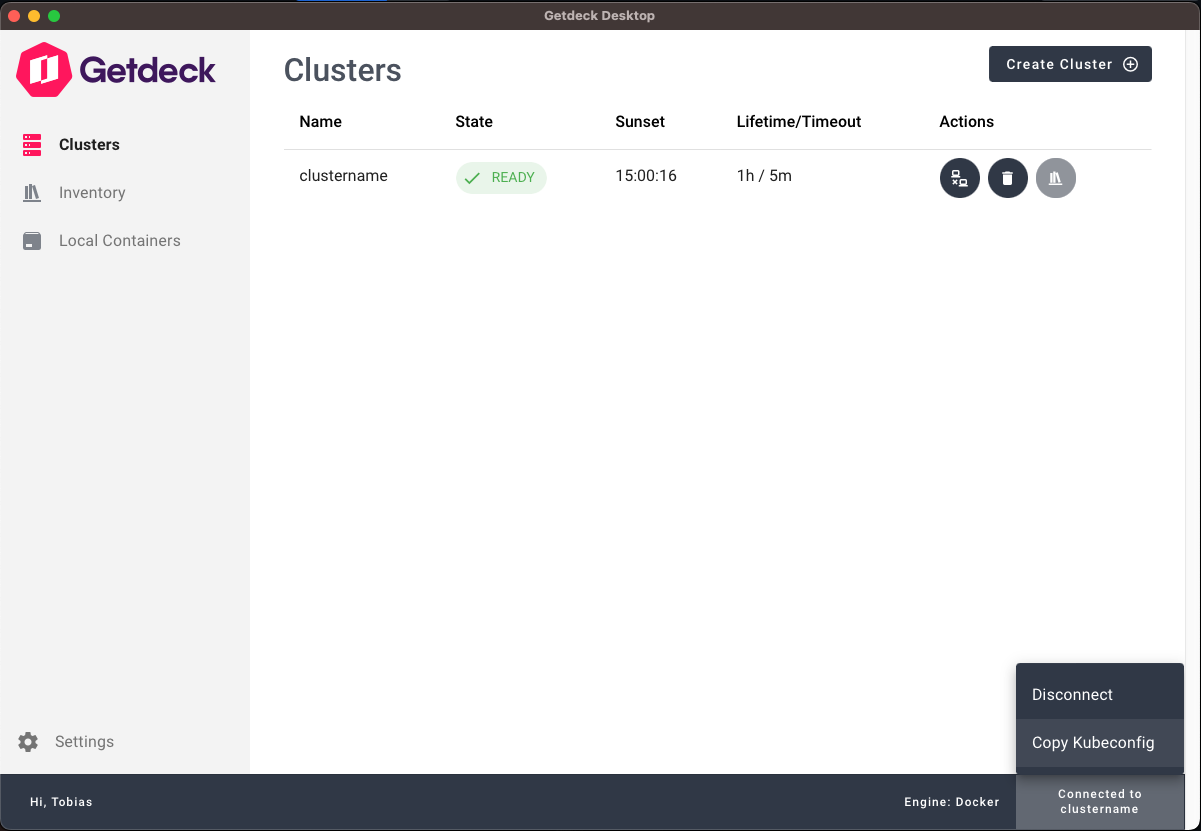
As soon as the connection is established, you can open the connection menu on the bottom right hand side. Hitting "Copy Kubeconfig" will copy an export command to your clipboard that looks like this:
export KUBECONFIG=/path/to/kubeconfig
Pasting it to your terminal of choice will allow you to use any tool that can talk to the Kubernetes API server to interact with your virtual remote cluster.
